Intro:
I know this project is starting to get a little convoluted due to the multiple part series that I’ve been writing. However, I think that the best way forward is to look back at where I left off in part two of this project as a reminder of the decision paths we have after finding out the Cadillac ATS calipers would need to be machined to fit the Durango or Evo rotor:
- Machine the ATS Caliper to fit the larger rotor
- Use another factory-equipped (lug-mounted) Brembo caliper
- Order an aftermarket or OEM caliper that is radially mounted that simplifies the mounting options
In part three, I went down the path of attempting to mount CTS-V calipers to the Evo rotor and found that the mounting positions almost lined up naturally. However, there would need to be extensive machining in order to actually get the two to fit together.
The Kitchen Sink:
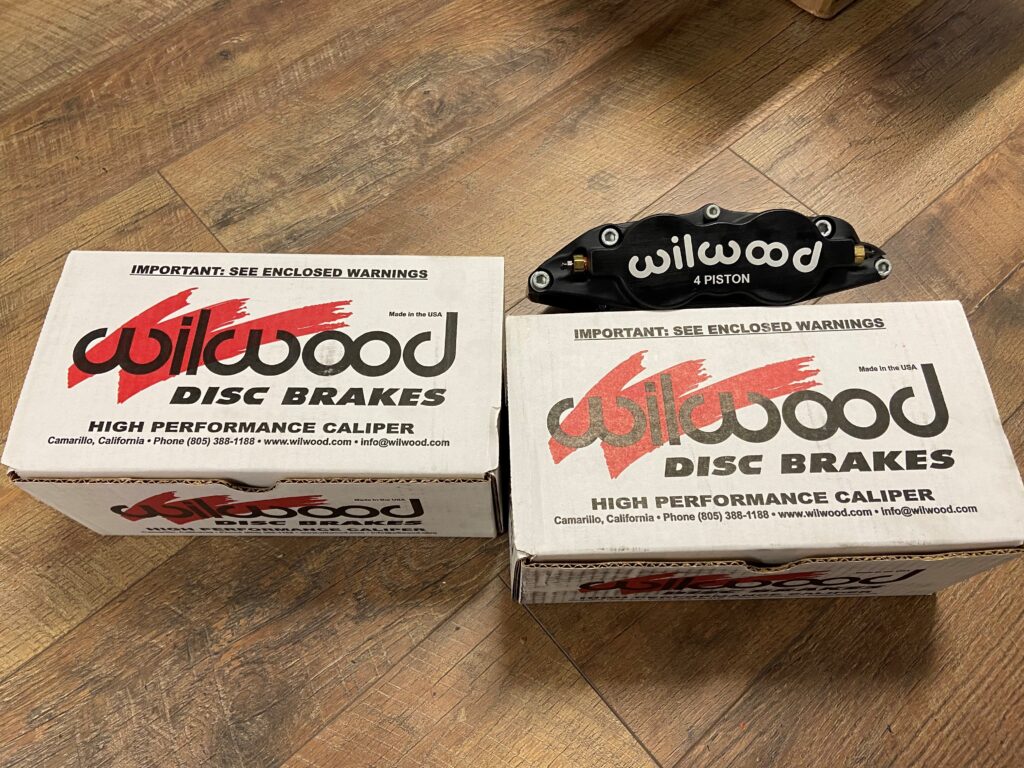
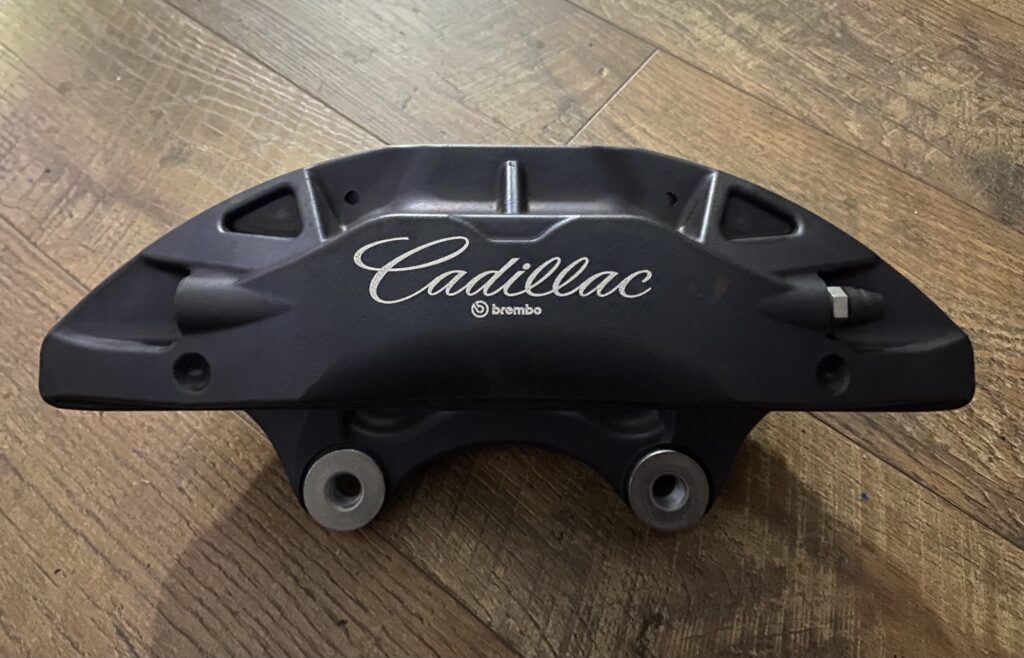
Sometimes, it’s necessary to get as many options as possible in front of you and make a decision based on the best way forward. That’s what I ended up doing by ordering the last 4-piston Cadillac/Brembo caliper available (XTS) and a very nice pair of Wilwood Forged Superlite calipers (that were on closeout pricing). At this point, we can safely assume that we’re going with the Evo rotors since it provides better overall clearance to the ball joint.
Therefore, moving forward, we have two new contenders. The Wilwood caliper (designed to fit up to 14″ rotor):
And, the XTS caliper (which is designed for a 13.6″ rotor):
More Issues?
The XTS caliper and the CTS-V caliper share extremely similar footprints and mounting positions:
Okay, maybe you’re thinking, “Okay, maybe the XTS caliper is a ‘Hail Mary’, but surely the Wilwood caliper which is designed to be used on just about any car will be the way forward?” Yeah, that’s what I thought too, when I saw the calipers on closeout. In fact, the piston area was exactly the same as the pre-designed kit for the Celica/Scion TC. I was absolutely sure this was going to be the final solution: the easy option from an aftermarket resource.
NOPE. Wrong again. Let me show you the issue:
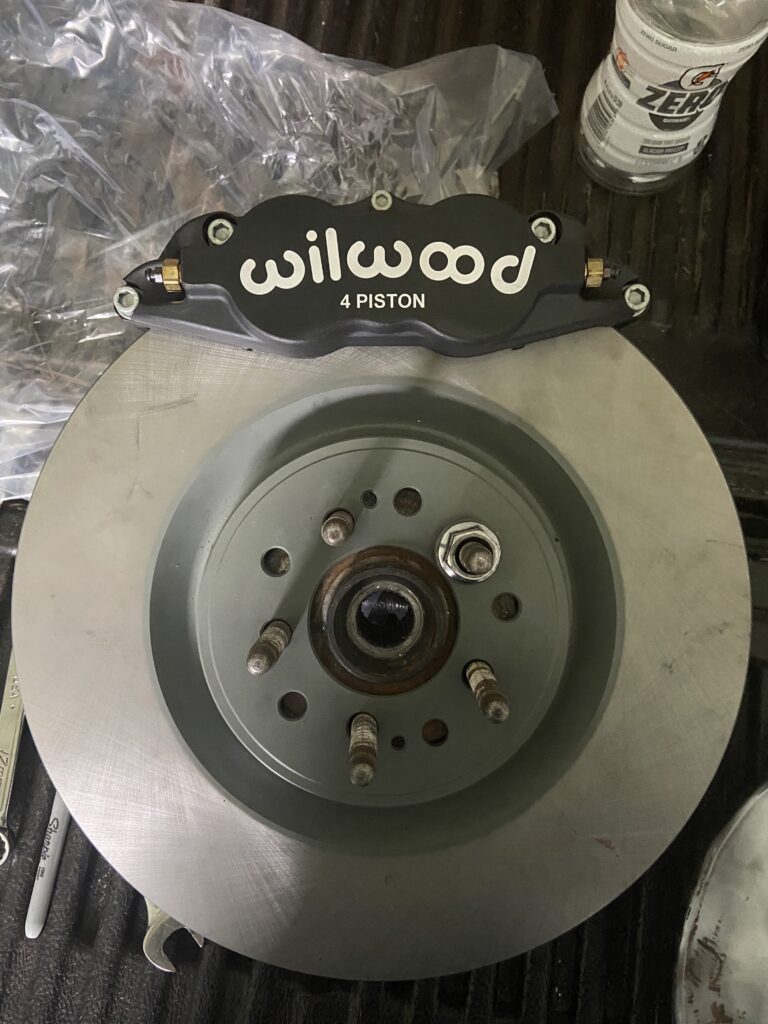
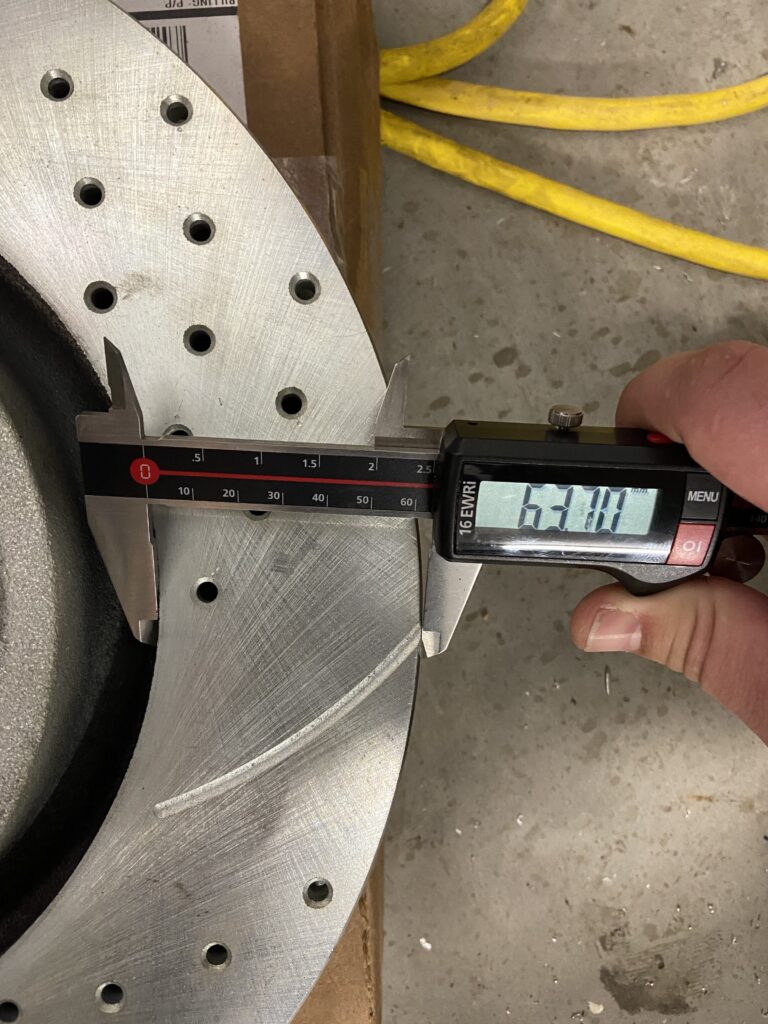
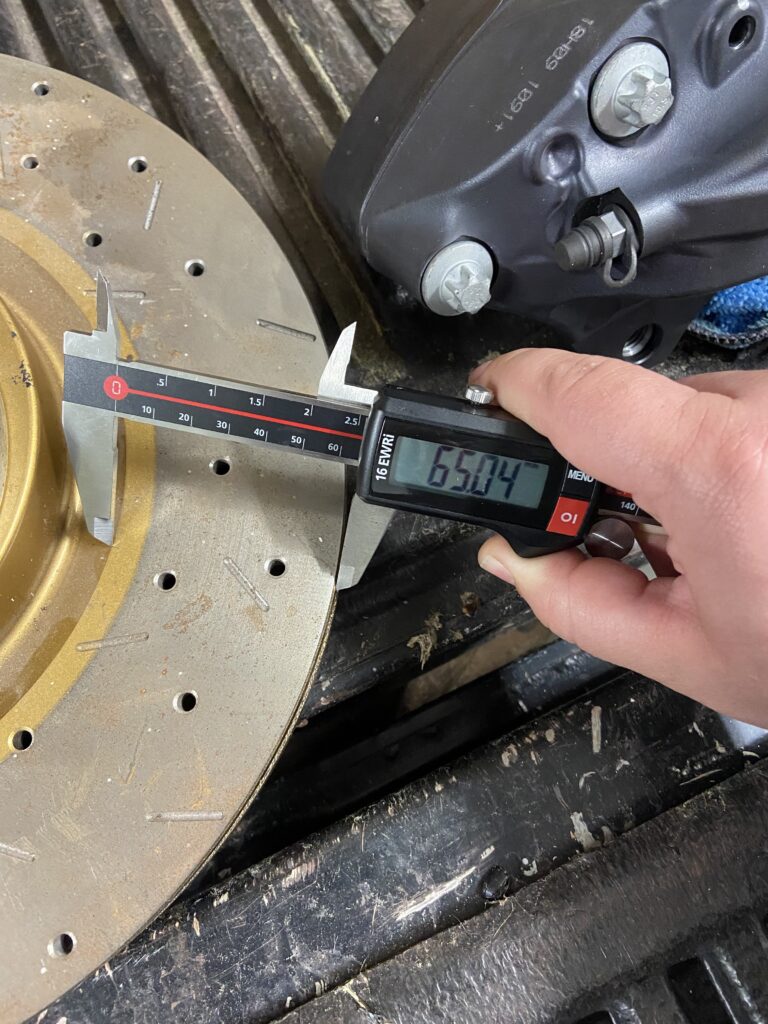
Take a look… Can you see how the rotor face has a 65mm annulus and the pad would only cover 2/3rds of the rotor face? A big part of me wanted to just scuff the rotor face and paint it black. Then, it would only be noticeable if you were looking for it. However, the problem lies in the fact that the Wilwood caliper is designed for a two-piece rotor.
The purpose of moving to a 2-peice (floating or not) rotor is that you save weight overall by making the center section from Aluminum and the rotor ring out of cast iron. If the engineering plan is to minimize the weight, the obvious solution is to reduce the rotor ring while maintaining brake performance. For Wilwood, it seems as though they have a 48mm annulus for the 350mm diameter rotor.
Maybe…
The first thing I did when I realized that the caliper is designed for that rotor face size was to go and confirm that the Subaru and Durango rotor didn’t have a smaller annulus than the Evo rotor. The Subaru rotor had a 65mm annulus and the Durango rotor had a 64mm annulus. There’s no way to make it right with the rotors I have.

Wilwood Rotors?
The next thing I did was to see how much it would cost to get two-piece rotors in the 350mm diameter. As it turns out, Wilwood will sell you the rotor hats you need for $225/hat and the cheapest rotor rings are available for $325/rotor. Additionally, you’ll probably want to spend the $75 on the hat bolt kit. If you’re following along at home, that’s going to be about $1,175 for a pair of rotors before taxes and shipping. My closeout price for the calipers doesn’t seem so thrifty after all.
Another Rotor Option:
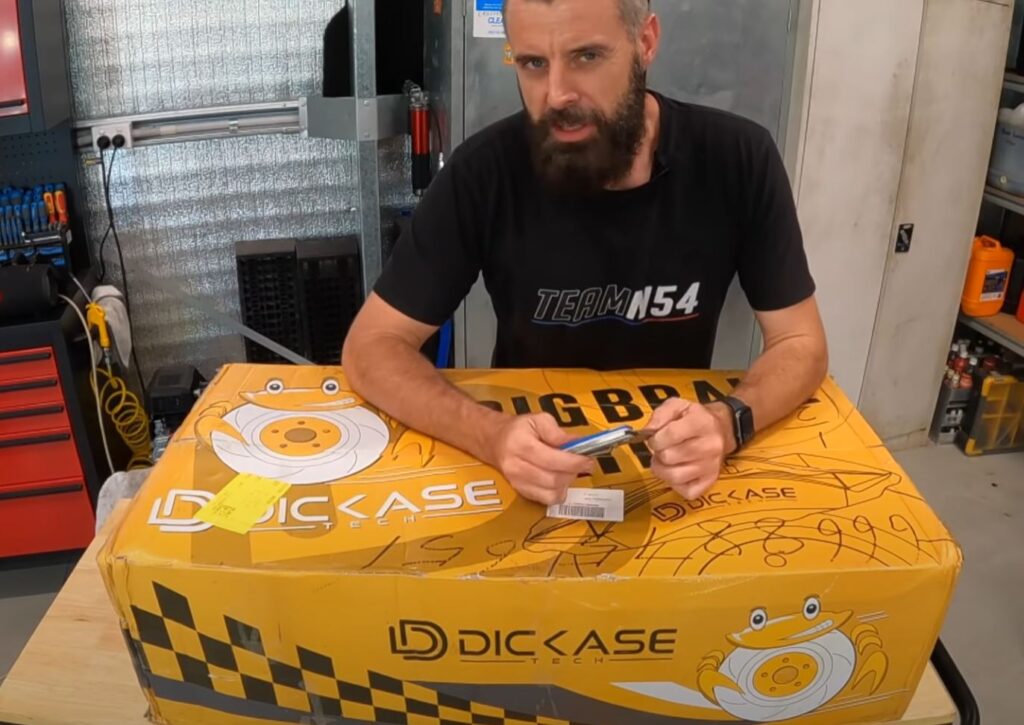
I found a video on YouTube (around the same time I was pricing out those Wilwood rotors) where an Australian guy bought a big brake kit for his BMW on AliExpress. Intrigued, he purchased them and went through two of the kits in detail and installed them. There were additional follow-up videos over the next year answering questions about the longevity and the performance of his kit. Either way, his overall advice was to not go to the suppliers on AliExpress, but rather go directly to the manufacturer “Dickase” in order to get the highest quality parts.
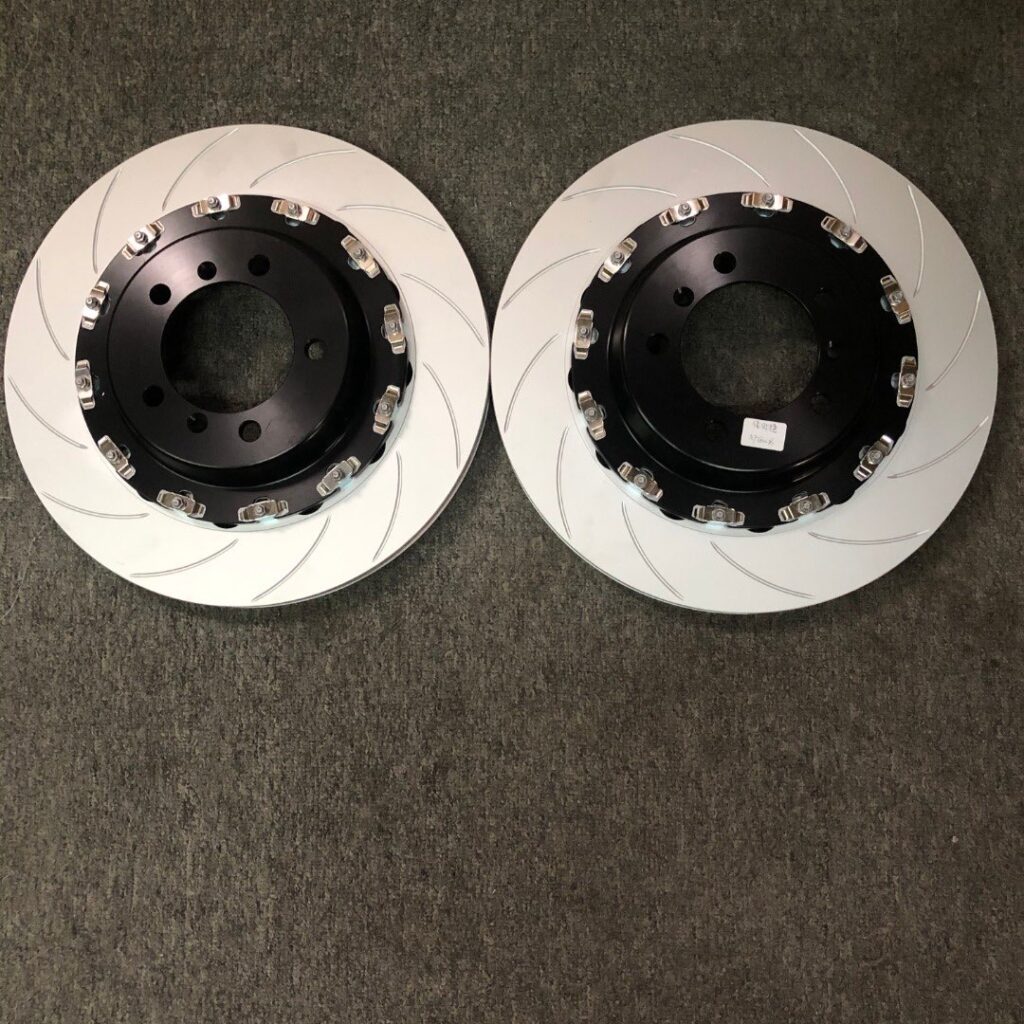
I looked at their website after watching the aforementioned video series and found that they had some options that might work for me. I contacted them directly and asked if they would machine custom rotors for me and they told me that they would produce a pair for $458 + shipping for a floating set of rotors. Not bad, honestly, but that would bring the total price to $800 and a long-term commitment to buy future parts from either Wilwood or Dickase.
Now What?
So, the TRD TC2 caliper? Out. The Wilwood Caliper? Out (unless I want $1200 rotors). Obviously, we have the three Cadillac Brembos left: ATS, CTS-V, and XTS. The ATS would work with machining to clearance the larger-than-designed rotor and on the plus side the bracket has already been designed. The machine work would be pretty complex on a manual mill though. The XTS and CTS-V are basically the same caliper, with one difference that hasn’t been discussed yet. The CTS-V caliper has an external hardline meaning the two halves are completely separate from each other. However, the ATS and XTS calipers have internal passages that transfer the fluid around both pistons.
Therefore, any machining done to the XTS or ATS calipers must be done extremely carefully in order not to ruin them by breaking into the internal passageways. If I plan on doing any machine work, the best option to not render the entire caliper useless would be to perform the work on the CTS-V.
Here’s the plan:
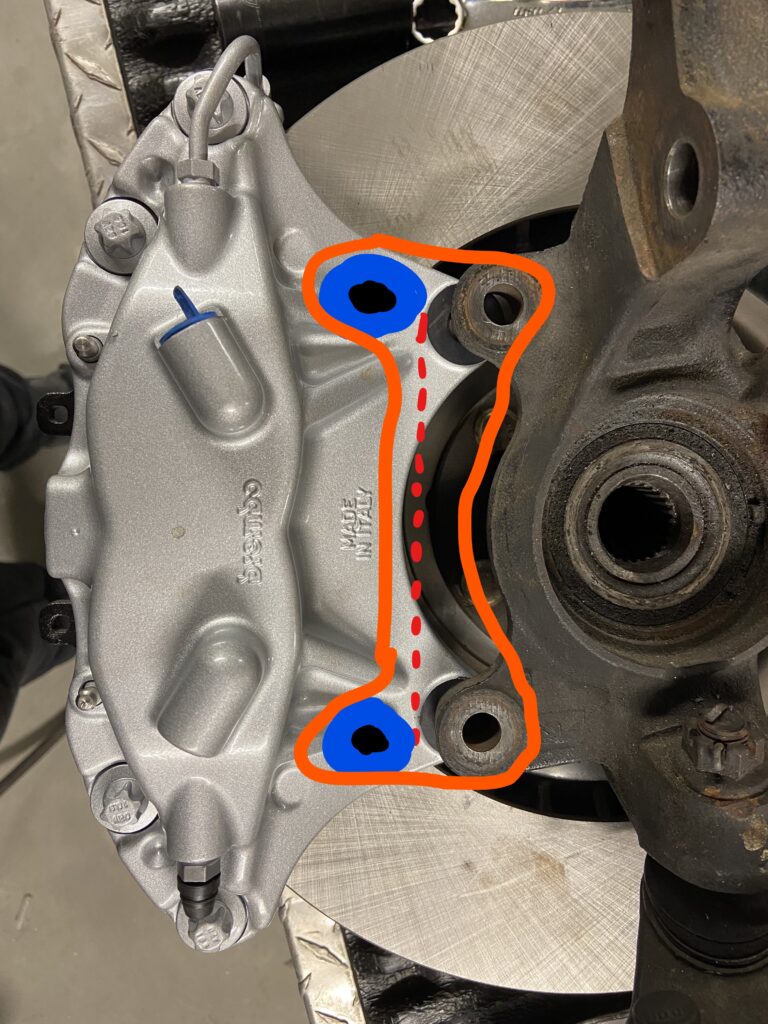
First, mill off the ears of the caliper to provide clearance to the hub at the red dotted line. Then create counterbores where the blue circles are and drill holes where the black circles are. Lastly, the bracket would end up looking like the orange outline.
Outro:
Join me next time as I jump through even more hurdles attempting to fit these rotors and calipers to my car. Still on the docket to be written are articles that discuss how I plan to rebalance the front/rear brake distribution and how to calculate that.